Quick start
This page takes you from nothing to a working Bizbot organization in about 10 minutes. By the end, you'll have asked the assistant a question and got an answer from your own documents.
1. Create your account
- Open the Bizbot sign-up page.
- Sign up with your Email and a password, or click Continue with Google.
- If you used email, open the confirmation email and click the link, then sign in.
See Create your account.
2. Create your organization
The first time you sign in, Bizbot shows Complete your profile.
- Enter your First name and Last name. Optionally, add a profile photo.
- Enter your Organization name, such as your company's name.
- Click Continue.
Bizbot creates your organization, makes you its admin with every permission, and opens the Dashboard.
If your company already uses Bizbot, don't create a new organization. Ask an admin to invite you instead. See Create or join an organization.
3. Upload your first documents
Start with 2 or 3 documents your team asks about often, such as a staff handbook, a price list or a how-to guide.
- Go to Assistant > Documents and click Add File.
- Drop in a file, such as a
.pdf,.docxor.xlsxof up to 10 MB. - Click Access and tick the roles that should use it. Bizbot ticks Admin for you. Tick Member too, so your team gets answers from it.
- Click Upload. When you see "File uploaded and queued for indexing.", it's ready.
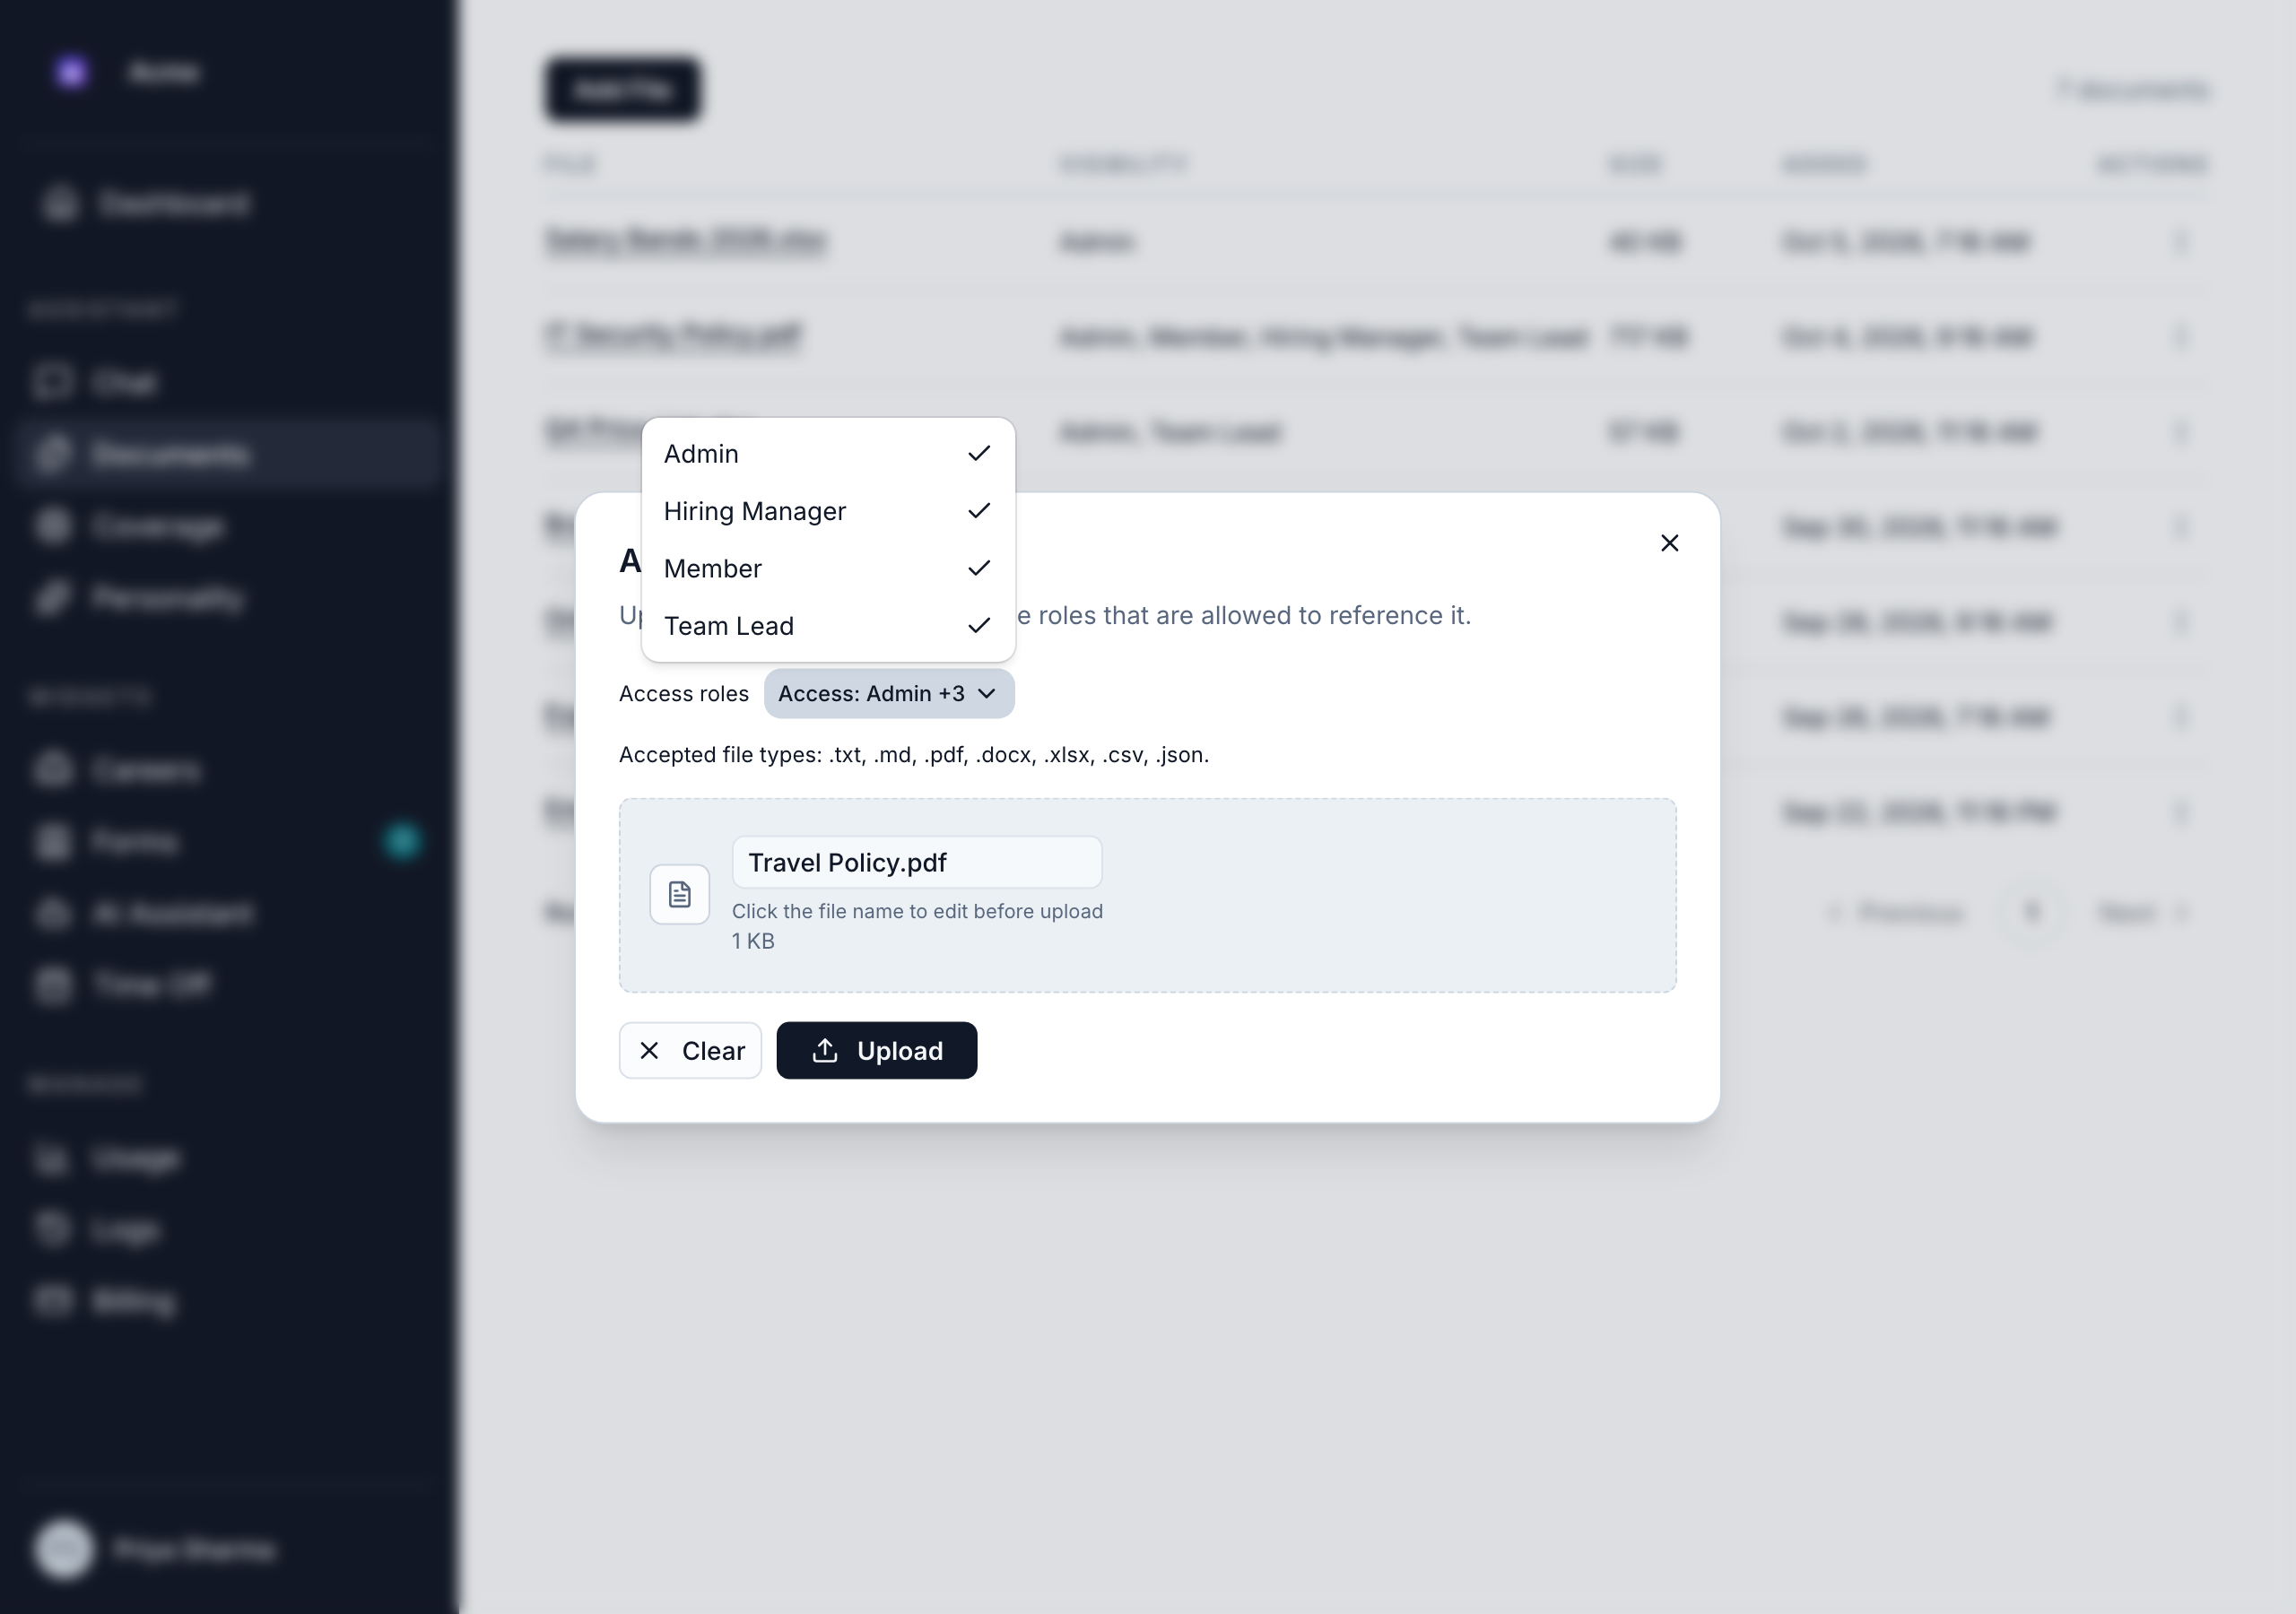
See Upload documents and Supported file types.
4. Ask the assistant a question
- Go to Assistant > Chat.
- Type a question your documents answer, such as "How many vacation days do new staff get?".
- Press Enter.
The assistant searches your documents and answers from them. If it says it doesn't know, check that the document uploaded and uses the words in your question. See Chat with your knowledge base and Improve AI answers.
5. Invite your team
- Click your organization's name at the top of the sidebar.
- In Members, click Invite member, enter a teammate's Email and click Send invite.
- To invite several people at once, create an invite link under Invite links and share it.
Teammates join with the Member role. Change their roles after they join. See Invite your team and Roles and permissions.
The Member role starts without any permissions. To let your team use the knowledge base in Chat, turn on View Documents for the Member role. For coverage, turn on Use Coverage.
What to set up next
- Forms: collect enquiries from your website, with each one scored by AI.
- Hiring: publish jobs on your careers page and get a scored shortlist of applicants.
- Time off: set up time-off policies and working hours, so your team can request time off and you can approve it.
- Coverage: get your team's know-how written down, so work keeps moving when someone is away.
- Website assistant: answer your website visitors' questions around the clock, from the business information you give it.